After a student of mine recently "gently" reminded me that I hadn't updated my blog in over a year, I decided that it was time to get back into it! Whoops! So I figured I would ease myself back in with something that I've been thinking about for a while and needed to update on. In this post, I'm going to detail how to pick a couple of iOS and Android devices to build yourself a good testing lab.
Disclaimer: I'm not building exploits, and I'm not testing them. What I mean by that is that when I build out devices, I take the steps ahead of time to build out devices that I know I can easily gain root/full access to. Why? Because I'm interested in artifacts! The bottom line is that getting the data is always going to be the hardest. I leave that to people a lot smarter than myself to figure out. What I care about is WHEN I can get the data, what can I do with it?
It's also important to realize that whether you're testing system-level artifacts or third-party applications, you want to grab data in a number of different ways. Sometimes data will be available in a "Quick" image type, sometimes, it's restricted to a full filesystem pull only. Sometimes the data may be available from a cloud source, while other times it's restricted to on-device only. Heck, even sometimes the data is ONLY in the cloud! Because of these factors, you want to choose a set of devices that are going to offer you the most flexibility across the board.
For my testing lab, I usually like to have a bank of four devices. I know that sounds like a lot if your budget is small, but hopefully this post will illustrate the importance of having them and how you can stretch your budget to go farther. I'm going to break it down into two sections, iOS and Android.
Take a Byte!
Let's start with everyone's favorite (or least favorite) fruit-named company, Apple. iOS is a huge leader in popularity, at least here in North America. Over the last year, there has been some AMAZING research done around iOS that has extended our capabilities in the research aspect. That being said, the checkm8 research isn't available for all iOS devices out there. If you're going to rely on checkm8 to get full filesystem images, you want to pick a set of iOS devices that's going to allow you to maximize the amount of time you can use it.
Exploitable iOS Device:
Option 1: iPhone 8/iPhone X
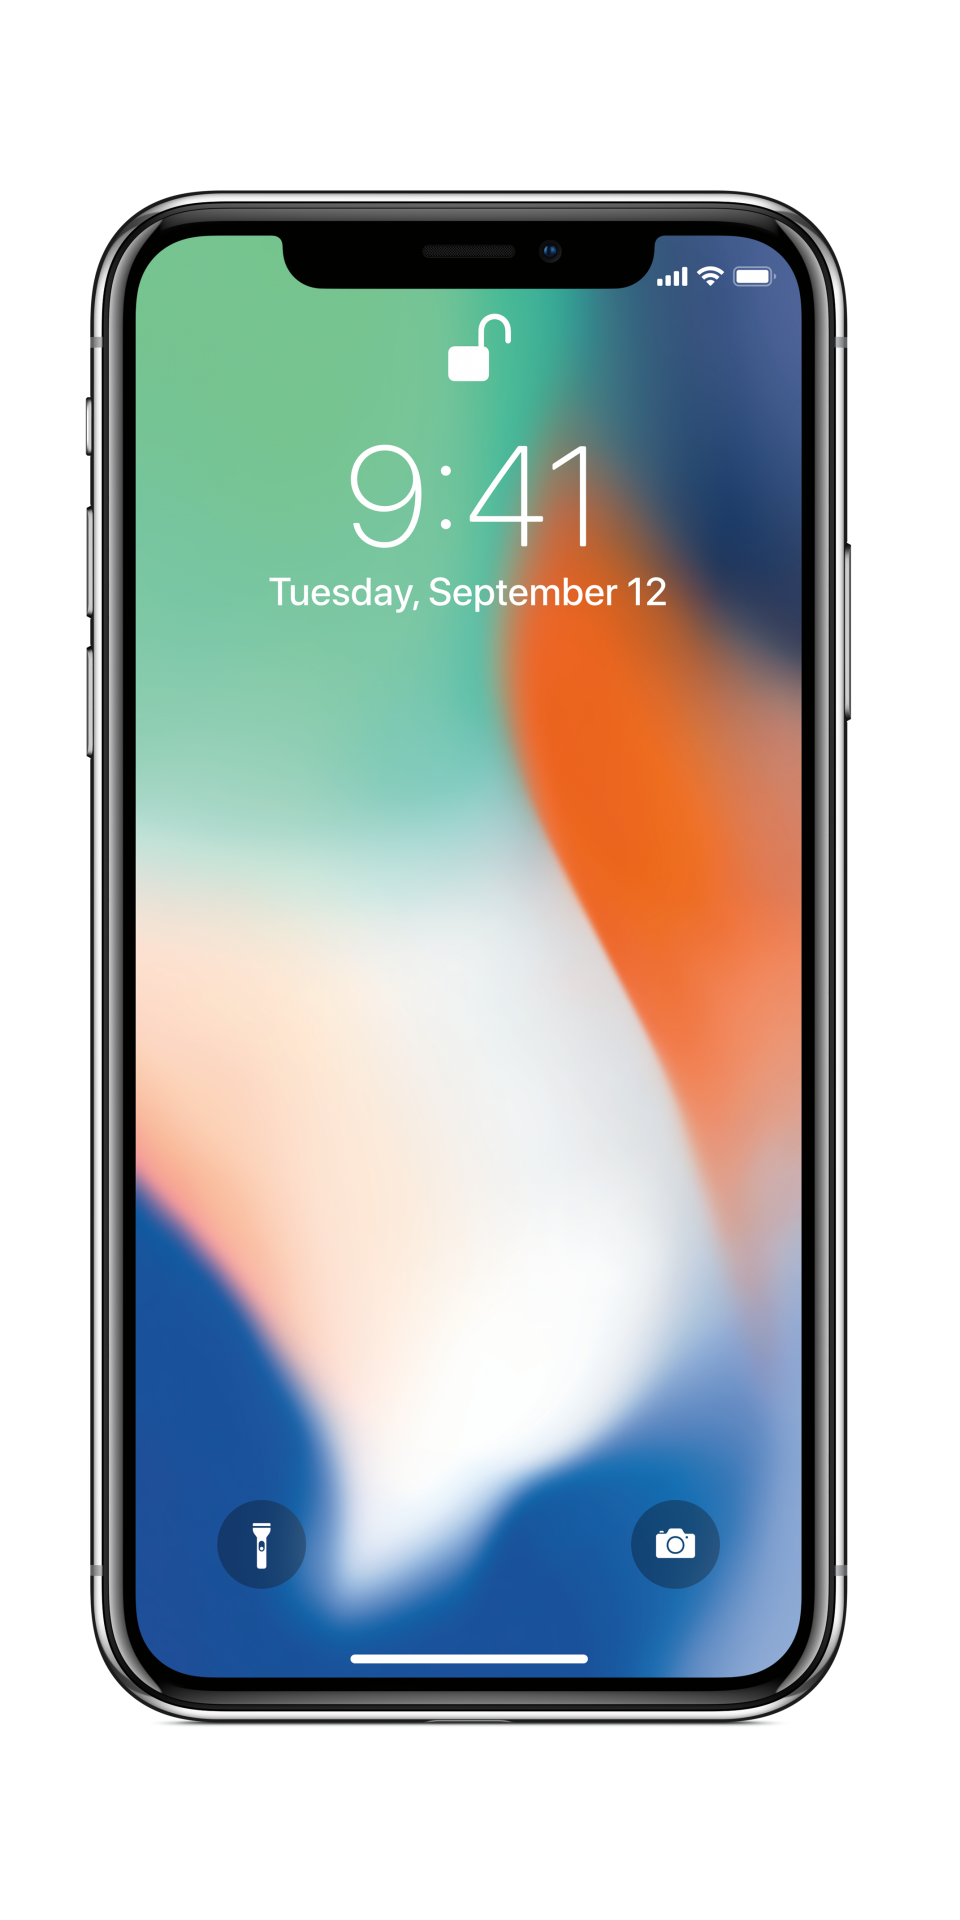
Running the A11 chipset, these are the latest iPhone devices that are going to be exploitable by the checkm8 exploit. The iPhone 8 and iPhone X came out in 2017 meaning that they're already showing age in Apple years.
If you choose to buy one of these straight from Apple's refurb website, you can get them for 339 USD or 599 USD for the 8 or X respectively. A little pricey for a test device that's already 3 years old. While I believe these will get support for a while, I'm all about longevity with my test devices because my budget only opens up every so often. Purchasing Apple devices secondhand is often safer than some other devices because these devices can be securely factory reset. With that in mind, make sure the device is not activation locked or that the IMEI is not blacklisted before purchasing.
Option 2:
iPad 7th Generation (2019) Model
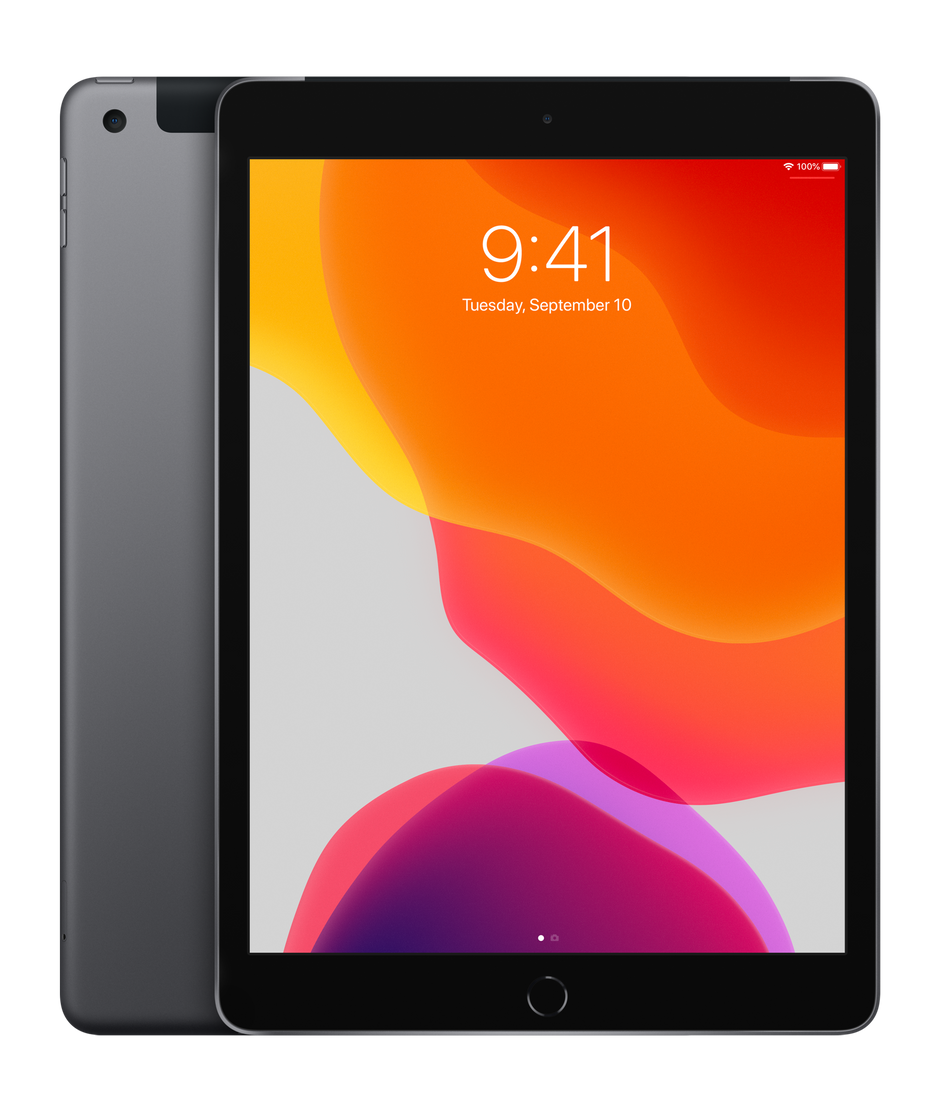
For my money, I think if I wanted an iOS device that was vulnerable to the checkm8 exploit for full filesystem testing, I'm going to go with an iPad from 2019. Not the mini, not the Air, and not the Pro. Just the plain old iPad (7th Generation).
Brand new from Apple today, you can score one of these for 329 USD for Wi-Fi only or 459 USD for Wi-FI + Cellular. Do you really need Cellular? It depends on what you want to test! One reason to get a cellular device is to test specific cell-tower based location data or tracking application data usage over cellular (not just Wi-Fi).
But why an iPad? Don't you need a phone? Well... again, it goes back to our two favorite (least favorite) words in mobile forensics: IT DEPENDS. Are you just testing app data and how the system generates artifacts? Then an iPad is going to be great. Are you testing specific location data generation? This will do it. Do you need call and sms data? Well, you can get FaceTime and iMessage data which live right alongside standard telephony calls and SMS/MMS messages. And if you have a SECOND iOS device, like one I'll mention soon, it allows you to forward that information to this device so problem solved!
Another reason to have an iPad in your testing arsenal is that iPadOS does have some slight differences between it and iOS for iPhones. While they're mostly cosmetic and involve how the user interacts with apps, there could be some artifacts that differ (I'm looking at you, Safari Downloads :shakes fist:)
Non-Exploitable Devices
Maybe checkm8 isn't required in your testing. Maybe you're operating in an environment where it wouldn't be approved to use, or you are only operating with quick, iTunes-style backups anyway. In this case, I'm going to recommend another device. When building out my most recent test environment, I went with Option 2 above and the next mentioned device. Skip the XS and 11 Pro Max. Go for the SE!

This device isn't the sexiest on the market, let's be honest. But that's not what I need it for. I don't need the fidget-spinner style camera strapped to the back. Just one that can take pictures and operating running iOS for the next several years to come. This device packs an A13 chipset just like the iPhone 11 series.
This budget-minded iPhone came out in 2020 and can be picked up brand new for 399 USD. That's two hundred dollars cheaper than the iPhone X refurbished on Apple's website! That means for the price of said iPhone X, I could instead pick up the iPhone SE (2nd Gen) and a 7th-Gen iPad for only about 120 USD more. That's not even including sales where I could possibly pick up the iPad cheaper (I bought my last one for even less than the going rate). This leaves you with one checkm8 exploitable device and one that runs the latest available processor. What are you missing in the SE? Well, no FaceID. It's still TouchID because it's the budget iPhone.
Why Two iOS Devices?
This is a simple one. Apple loves to sync! It's incredibly common for a user once in the Apple ecosystem to drink deep of the Apple-flavored KoolAid and have both an iPhone and an iPad. There are also a lot of artifacts (looking at you again Safari) that are generated when a user has more than one iOS device that can be crucial in investigations! Also if you have both, you can have one device running cellular service and generating call/SMS data, use a hotspot feature for the iPad, and constantly have it syncing the data across! It's a win-win system!
Another reason for a second device? Testing the transmission of data form one to another! Think about Wi-Fi password sharing, Airdrop transmissions, and PIN sharing!
Andy's Turn
Okay, I'm done waxing poetic on Apple for a while (if you know me, you know that's a lie). It's time to talk about the popular green guy in the room, Andy the Android. The Android operating system is one of the most widely distributed OS platforms worldwide and backed by several giants in their own right. For me personally, I'm going to skip a tablet this time around and go with not one, but two different budget-minded Android devices.
The Venerated Veteran
The only Android devices I've ever "liked" (read: tolerated) are the ones that come straight from Google. I'm talking about the Nexus and Pixel lines of devices. The reasons why could fill a blog post in its own right, but I'll be brief.
- STOCK Android (No bloatware)
- Runs on just about any carrier
- Longer update life than most Androids
- Easily fixable
Breaking that down just a bit, first, the stock part. The Nexus/Pixel line of devices don't have all the carrier's and manufacturer's hands in them like many other Android devices. They're kept "pure" and allowed to run an un-skinned version of Android. This is good and bad. We can see the CORE of android, but may miss out on some ofthe flavor added by other vendors that can generate some unique artifacts.
Many of these devices are unlocked, meaning no matter where you are you can just slap a SIM in it and go. Google also offers a very affordable Google Fi plan (that also works on iOS) that can be activated and de-activated as needed so that helps when doing data gen.
The Pixel and Nexus line gets updates first, and keeps them going longer than most Android devices on the market. Because they're so easily unlockable, users will often keep the support running for these devices even after Google has pulled the plug too.
Finally, they're easily fixable. I'm often known as "The Breaker of Things" depending on who you ask. I break things. A lot. The nice thing about the Pixel line of devices is that the stock ROMs are easily available on Google's website so if I screw something up I can always reset to zero and try again.
My pick for this category is going to be another budget-minded device, the Pixel 4a. Now, I'm currently rocking a Pixel 3a in my test arsenal, but the principles are the same. The Pixel 4a is available today (just came out) for around 350USD. [Actually, as of writing this post, it doesn't even ship until 20 Aug 2020]
So whether you're going Pixel 3a or 4a, this is my first choice for Android. At the end of this post, I'll be talking about some software-level setup you need to do. DON'T SKIP THIS STUFF! If you do it right the first time, you're going to save yourself a lot of grief in the future. Without properly setting up your device, you may have to wipe it before you can even get the data you want!
What About Sammy?
If you're going to expand your Android testing set to include a vendor specific device type, make it a Samsung. Samsung is likely one of the most popular device types out there depending on where you are in the world. Huawei would be a close second, but Samsung is big in my market areas so I pick that one.
Now, I've often said I'll never own a Samsung phone. This is true as a daily driver, however, there's a lot of good reasons to own one for testing. Samsung is one of the worst at using their own proprietary applications. They use their own browser, their own messaging app, their own file tracker apps, and much, much more. They also have their own backup service type in SmartSync and their own separate Cloud storage service outside of traditional Google storage. Heck, they even have the "Galaxy Store" versus the traditional Google Play store.
Samsung phones are a lot like Apple ones. They're overpriced and hold their "value" for a long time. As per usual, I'm going to recommend a budget device here. I just picked up a Samsung A11 (SM-A115U1) for about 179 USD. Since it's unlocked, it's one of the US based devices with an easy to unlock boot loader.
A thought about emulators:
I know a lot of people like to use emulators. Me personally? I've had a less than desirable experience with them. If you can't afford an Android device or you're just wanting to test an application, there's a lot of decent emulator services out there. If you are going to go the emulator route, also understand that not all emulators are created equally. Make sure you find an emulator that is going to give you configurable root access, and can mimic multiple OS versions, and even device types to get access to applications that are locked to a specific vendor. Also, pretty simple, but make sure you can get adb access to the emulator from your test environment. Amazing how many times I've started down that road without checking that first.
I also like the free tool from Magnet, the Android App Simulator. It's a free tool that uses Virtualbox to create a snapshotted Android image that you can inject files into. If you're just looking for a quick test bed environment, this is the one I'd recommend. You can find out more info about that tool
here.
Let's talk Setup!
Now that we've identified our 4 test devices (iPhone SE, iPad (2019 7th Generation), Pixel 3a/4a, and Samsung A11) we need to establish some setup steps. If you skip the setup phase on some of this stuff, you're gonna have a bad time. Do it right the first time, and you won't have to potentially re-do all your data gen.
iOS Setup:
Identify which route you're going to take. Are you going to Jailbreak? Are you going to use checkm8? Are you going to rely on iTunes only? Are you interested in Cloud? Lots of questions to answer. If you're sticking to the guide I've been laying out, then you're likely going with the the iPad and SE model. For that, you're not going to need much to set up.
If you're on a macOS device and you need to do setup, I'm going to point you to
@BizzyBarney's post that he did on
@iamevltwin's mac4n6 blog
here.
If you're on a Window's device, you're going to need a few pieces of software. Unfortunately, you're going to need a forensic tool or a macOS device to do checkm8 until we get a Windows port.
- iTunes: A must-have as Apple really doesn't like to share the iOS driver outside of this.
- LibiMobileDevice
Personally, I make my life a lot easier, and I just use Magnet's AXIOM or Acquire. [Disclaimer: I work for Magnet if you didn't know] These tools support making Quick images, getting the MTP available data, and even getting full filesystem images if you go the checkra1n route. If you are going with checkra1n and jailbreaking the iPad, you can also just use SSH to interface with the device.
iCloud Setup:
If you're going to do iCloud testing as well, a couple of things to consider. All newly created AppleID accounts are forced into using 2FA for the accounts using Apple's trusted device platform. Once you enable 2FA, you can't downgrade it. Technically, you can access the 2FA codes even from an offline iOS device so even if you don't keep your test devices online long term, you should be okay. If you don't want to use 2FA, there is a pretty sneaky workaround I've found.
- Create a minor account and tie it to your own AppleID via family sharing.
- Make this "minor" 17 years old and about a week away from their birthday.
- Once the account owner "turns" 18, you can remove them from your family share plan. Now you have a fully functional plan without 2FA; just don't enable it.
Only minor account are allowed to set up without 2FA. This is a great little workaround (until Apple shuts it down that is).
Software you need:
The Android SDK platform-tools. You're going to need adb and fastboot at a minimum. These are the backbone and workhorses of dealing with Android. In fact, it's basically all I use for device setups and imaging outside of using Magnet Acquire/AXIOM.
These setup instructions are more important than anything else you do. Some of the steps we take here MUST be done at the very beginning. For most devices these instructions are going to be the same, but I'm going to detail a few points on both our Pixel and the Samsung A11 because there are some subtle differences.
Step One: Pick a device that we can unlock the bootloader on. Go ahead and skip all the normal setup steps and get straight into the device. Enable Developer Mode, and tick on the OEM unlock option as well as USB Debugging.
On the Pixel, we'll need to reboot this device into Fastboot mode and running some commands. You can follow this guide from xda-developers
here even if you're using a newer Pixel device.
For the Samsung, the process is almost the same, but it requires some button commands instead of command line interaction. You can follow
these instructions, however, a thing that I spent hours dealing with:
Once you're ready to get into download mode and unlock the boot loader, no key command I found find online worked. Here's what I did with my A11 -
- Make sure phone is above 80% power. I could NOT get this to work until it was on at least 80% power.
- Power Off phone
- Hold Volume Up + Volume Down + Power while plugging in the USB-C cable (use the one that came with the phone, not all USB-C cables are created equal)
- Hold the Volume Up button and allow it to reset/wipe the device.
Step Two: Now that the device is wiped and the boot loader unlocked, we can then go and do the standard setup of creating a Google account (and/or Samsung account). Turn back on USB Debugging at this phase.
For Samsung, devices, it's a LITTLE harder. I recommend a good GTS (Google That... Stuff) and looking for the files online like at sammobile.
On the A/B boot style devices of Android (like Pixels) you'll have to modify and need the stock boot partition. For Samsung devices, you'll need a stock recovery partition.
Step Four: Follow the instructions to modify your stock boot/recovery file using Magisk
here.
Now that your device is rooted with Magisk, you can selective acquire full file system images or get quick images. Again, I like to use Magnet AXIOM or Acquire for this just to make my life easier.
There we have it! Four devices and instructions to get you up and running! Depending upon your needs you now should have the tools at your disposal to get out there and get researching!

Fun88 Casino: Free Slots, No Deposit Bonus Codes
ReplyDeleteFun88 Casino - Play with $5000 bonus! We 카지노 have over fun88 vin 7000 FREE SLOTS, NO 12bet DEPOSIT BONUSES, T&Cs Apply.